Sukkah
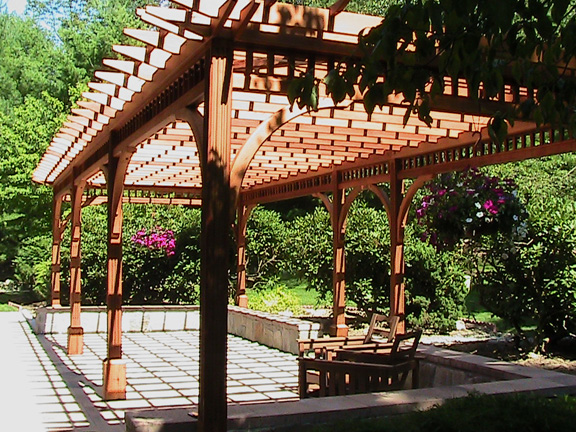
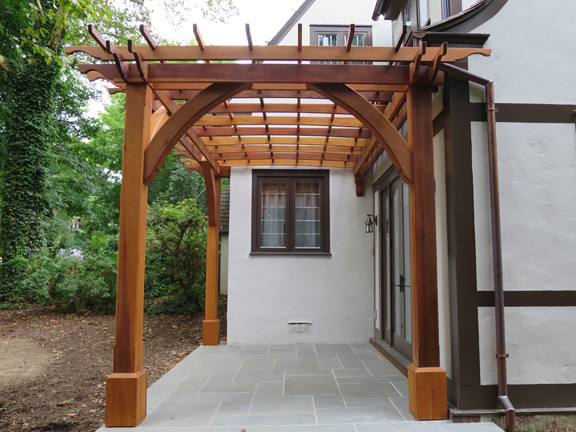
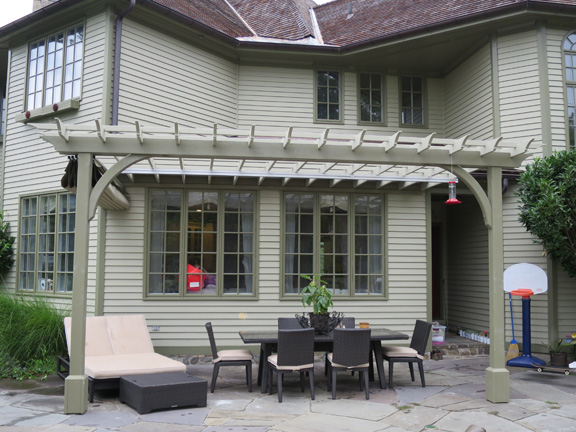
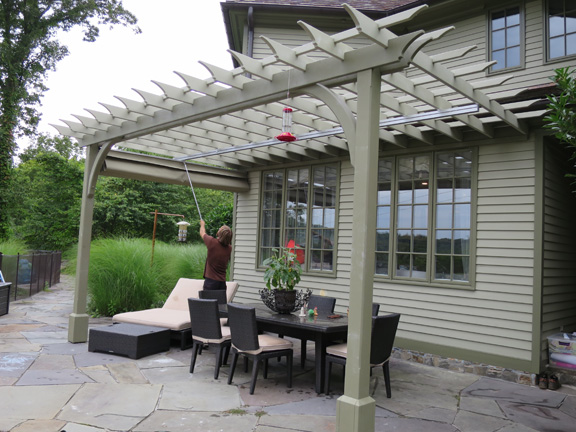
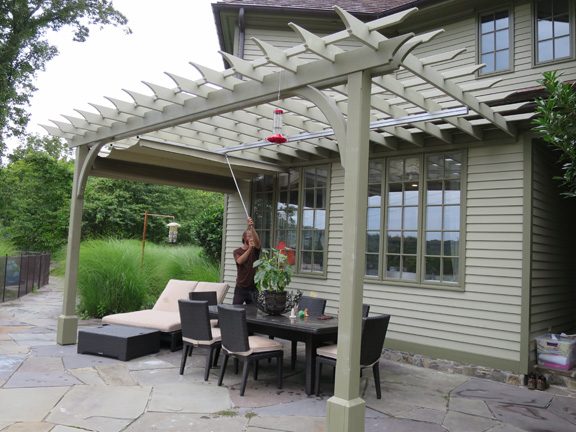
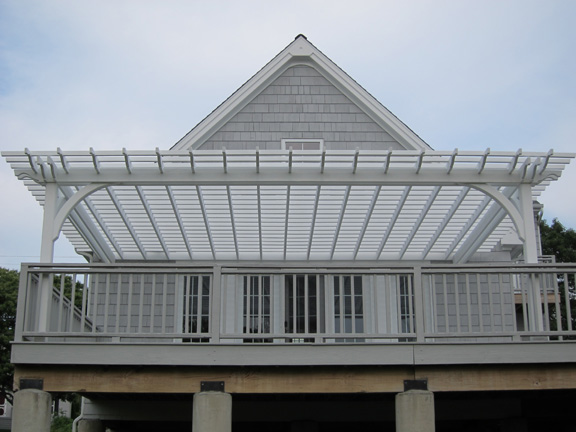
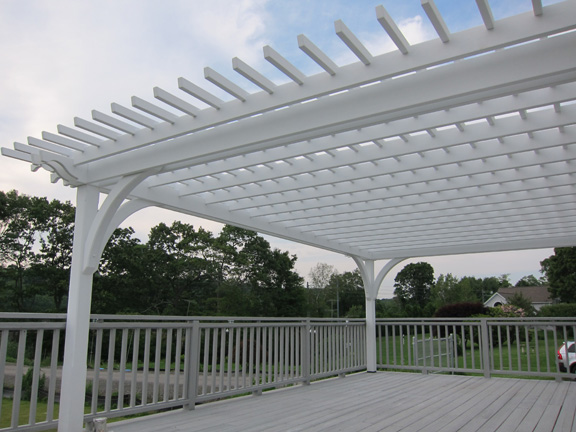
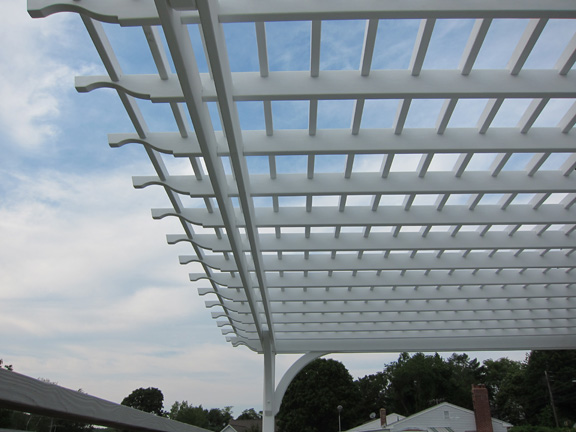
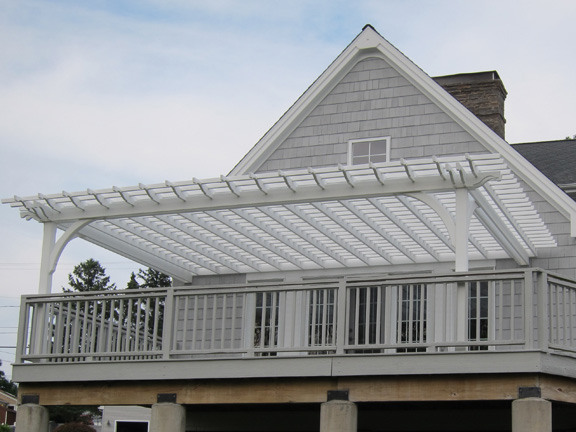
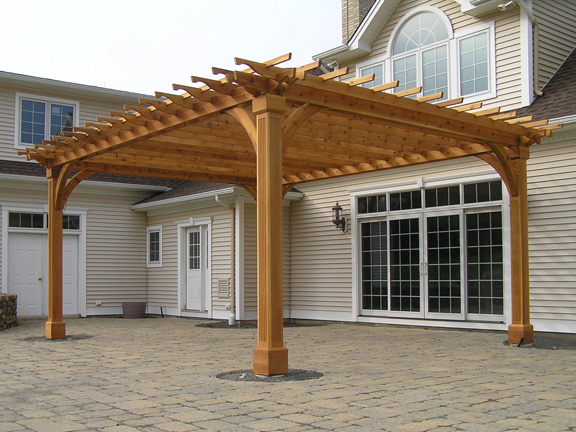
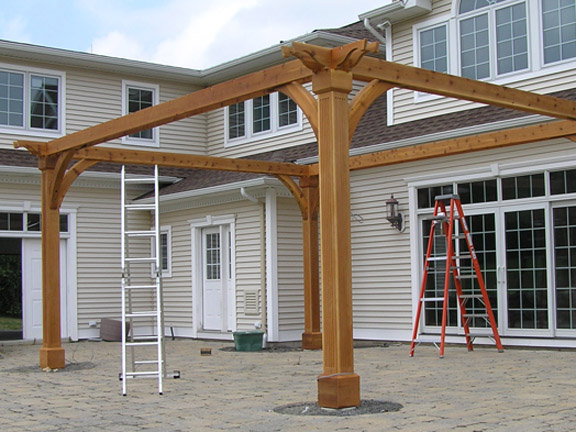
We are a pergola company offering custom pergolas which can be further customized into Sukkot. While we have done many such custom structures, we leave the finishing touches to the family of the client.
Definition:A sukkah is a temporary dwelling built during the Jewish holiday of Sukkot. ("Sukkot" is the plural form of the Hebrew word "sukkah.") The sukkah hearkens back to times in ancient Israel when Jews would build huts near the edges of their fields during the harvest season. These dwellings not only provided shade but allowed the workers to maximize the amount of time they spent in the fields, harvesting their food more quickly as a result. The sukkah is also said to represent the temporary shelters in which the Jewish people lived while wandering in the desert for 40 years (Leviticus 23:42-43).A sukkah usually has at least two and a half sides, which can be constructed of any material so long as the sides are secure and don't flap in the wind. The roof must be made of natural, unprocessed materials that have grown in the ground - such as tree branches, bamboo poles or even wood that's been shaped into planks. In addition, the roof should be left open so that people inside the sukkah can see the sky. The sukkah is often decorated with autumn fruit and vegetables, which are tied to strings and then hung around the sukkah.During Sukkot it is traditional to eat at least one meal in the sukkah. Many people will try to eat in the sukkah more often though, especially if they have children who can revel in the novelty of eating outdoors.Although some people build a sukkah in their yards, in modern times it is more common for synagogues to build a sukkah for the community to enjoy.
Pronunciation: sue-kah
Alternate Spellings: sukka
1. When should one begin building the Sukkah?
According to most opinions, one should begin on at the departure of Yom Kippur in order to go immediately from one mitzvah to another. If this is not possible, one should begin the following morning. If this will not leave him sufficient time to complete the Sukkah, one may begin to build before Yom Kippur, but he should not place the s'chach until after Yom Kippur. According to some opinions, one should begin to build the Sukkah before Yom Kippur, as an added merit.
2. When should one finish the construction?
Ideally, the Sukkah should be completed on the day after Yom Kippur. However, if by doing so, the Sukkah will not be built properly and sturdily, he should devote more time to erect a better and more beautiful Sukkah.
3. May one build the Sukkah on erev Shabbat or erev Yom Tov?
Yes, but one must stop building at halachic midday. According to some opinions, one may continue to build until mincha ketanah (two-and-a-half halachic hours before sunset).
4. May one build a Sukkah on chol hamoed?
If a person did not build a Sukkah before Yom Tov, or if he built one but it fell down, he may build one on chol hamoed. If necessary, even skilled work (which is usually forbidden on chol hamoed) is permitted in order to fulfill the mitzvah, but if possible this type of work should be avoided and the Sukkah should be a simple construction.
5. Is anyone allowed to build a Sukkah?
Any person may build a Sukkah, including women and children. However, it is a mitzvah for every man to participate personally in the building, and whoever toils and sweats with this task receives atonement for serious sins. It is preferable not to ask a gentile to build a Sukkah.
6. May one build a Sukkah anywhere?
A Sukkah must be built under the sky, with nothing intervening between the s'chach and the sky. One must be careful not to build a Sukkah under:
a roof
an overhanging balcony
a tree
protruding s'chach of another Sukkah
7. What if one part of the Sukkah is under the sky and one part is not?
If the section under the sky has sufficient walls and the minimum dimensions, the Sukkah is kosher. Nevertheless, one may only eat in the part of the Sukkah that is under the sky. Sometimes, the invalid section may be included in calculating the size of the Sukkah and a rabbi should be consulted.
8. May the Sukkah be built near a tree if the branches sway over the s'chach in the wind?
Ideally, one should chop off these branches. If one did not do so, the Sukkah is still kosher even when the branches are swaying over the s'chach.
9. May one build a Sukkah underneath washing lines?
Yes. Since the lines are very narrow and there is space between them, they do not invalidate the Sukkah. This is true even when laundry is hanging from the lines. However, if the laundry becomes entangled in the lines, the area of the s'chach beneath is invalidated. In some situations, this may invalidate the entire Sukkah.
10. May one build a Sukkah in a public area?
In Israel, this is allowed since permission is automatically granted to use the street for this purpose. In the diaspora, one should ideally avoid doing this unless specific permission is obtained from the authorities. However, the custom is to be lenient in this matter if no other area is available, especially if the Sukkah is built close to the house.
11. May one build a Sukkah on soil or grass?
On soil is permitted, but it is forbidden to sweep the floor on Shabbat and Yom Tov. It is therefore advisable to cover the floor with some suitable flooring. On grass is not advisable since it is difficult to avoid spilling liquids on the grass on Shabbat and Yom Tov. The grass should be covered with suitable flooring.
12. Does a Sukkah require a mezuzah?
Since a Sukkah is only a temporary dwelling, it does not require a mezuzah.
13. What is the minimum size of a Sukkah?
The inside of the Sukkah must measure at least seven tefachim long by seven tefachim wide. This is the smallest area in which a person could reasonably be expected to sit. (Even if the Sukkah is very long, it must still measure at least seven tefachim wide.) In practice, this means that the Sukkah should preferably measure 70cm x 70cm. It is still kosher if it measures only 56cm x 56cm. The internal height should measure at least 1m, but it is still kosher if it measures only 80cm.
14. What is the maximum size of a Sukkah?
There is no limit to the size of a Sukkah. In terms of height, however, the s'chach must not be higher than 20 amot from the floor of the Sukkah (approx. 10 meters). This is rarely applicable.
15. How many walls should a Sukkah have?
Strictly speaking, a Sukkah may be kosher even if it has less than three complete walls. However, the custom is to build a Sukkah with four complete walls to avoid complications. In order of preference, a Sukkah should have:
4 complete walls
3 complete walls
4 incomplete walls
3 incomplete walls
16. From which materials should the walls be made?
The walls may be made from any sturdy material. The walls must be strong enough to remain in position when the wind blows. Therefore, sheets that flap may not be used. Ideally, one should not even use sheets that are firmly tied down on all sides, in case they become detached and this goes unnoticed. If three walls are made from sturdy materials, one may use sheets for the fourth wall.
17. May one use sheets in extenuating circumstances?
If no alternatives are available, one may use sheets that are tied down on all sides. In this situation, it is preferable to tie several horizontal strings around the Sukkah. These strings should be tied at intervals of less than 24cm, to a height of at least 80cm (preferably to a height of 1m). This method invokes a halachic principle that considers the strings to be united to form a solid wall. With such strings, the Sukkah is kosher according to all opinions.
18. How high must the walls be?
The walls must be at least 80cm high (preferably 1m) but do not need to reach the s'chach. It is perfectly acceptable to support the s'chach on wooden posts etc, if the walls are the minimum height. The remaining spaces may be left open or filled with sheets or any other material. In this situation, the s'chach should preferably reach the line directly above the wall. The walls do not need to touch the ground, but they must not be raised more than 24cm above it.
19. Which materials may be used for s'chach?
The Torah requires one to use a material that satisfies these three conditions: it is vegetation
it is detached from the ground
it is incapable of becoming tamei
According to one opinion, the best s'chach is cut branches of trees. This is hinted by the numerical value of the word Sukkah (91) which is identical to that of the word tree ('ilan').
20. Are all branches suitable?
Most are kosher, but one should not use the following types:
branches whose leaves tend to shrivel, since it is difficult to estimate how much s'chach is required
branches whose leaves tend to fall off into the Sukkah
branches that have an unpleasant smell
branches that are liable to contain flies or bugs that may fall into the Sukkah.
21. May one cut branches from trees in the street or countryside?
It is forbidden to fulfill a mitzvah through stealing. Therefore, permission must be obtained before cutting any such trees, unless one is certain that they are ownerless.
22. May one use planks of wood for s'chach?
It is forbidden to use wide planks for s'chach, since the Sukkah would then appear like a house. Therefore, one may not use planks that are wider than 8cm, and preferably not wider than 5cm. Narrow planks may be used, although they are disqualified by some opinions.
23. May one use matting, wickerwork etc.?
When pieces of s'chach are interwoven or connected to each other, they may be disqualified since they now may be capable of becoming tamei. Since these laws are complex, one should not use such matting or wickerwork unless it has a reliable rabbinic supervision.
24. How much s'chach must be used?
One must use sufficient s'chach to cover the majority of the area of the roof. In other words, the total area of the open spaces must be less than the area covered. If the s'chach is dense in some areas but sparse in others, then the Sukkah is kosher if the following two conditions are fulfilled: the total area covered by s'chach is the majority of the Sukkah and the densely covered area exceeds the sparsely covered area
25. May one sit under a sparsely covered area?
Yes, unless the area measures seven by seven tefachim. It is advisable to spread the s'chach evenly, so that every part of the Sukkah is covered sufficiently.
26. May one cover the Sukkah with very dense s'chach?
There are several levels of permissibility:
Ideally, there should be sufficient spaces in the s'chach that one will be able to see some stars at night. If not, there should be a few spaces that will allow in a little sunlight during the day. Even if there are no spaces at all the Sukkah is still kosher. One may be lenient to do this in cold or windy places, where a person may be tempted to leave the Sukkah if there is insufficient s'chach. If the s'chach is so dense that even rain cannot penetrate, the Sukkah is invalid according to some opinions, since it resembles a house.
27. Must the s'chach extend horizontally up to the walls?
No, but the s'chach must reach within 24cm of the walls. Nevertheless, one must not sit next to the wall under the empty space, unless it is less than 20cm. If the space between the s'chach and the wall is more than 24cm, then the wall next to the space is invalid and cannot be used as one of the three minimum walls. If the s'chach reaches the other three walls then the Sukkah is kosher, but if two walls are invalidated then the entire Sukkah is invalid. To correct such a situation of large gaps (more than 24cm) between the s'chach and the walls, one should fill them in. Sheets, metal, boards or anything else may be used, although these items may not be used as s'chach. This method invokes a halachic principle called dofen akumah -- a bent wall. We imagine that the wall of the Sukkah extends upwards and then bends in horizontally until it reaches the kosher s'chach. One may not sit under this area of the Sukkah, but only under the kosher s'chach. This method is permitted provided that the non-kosher s'chach is less than 1.92m wide on at least three sides, and the area of kosher s'chach is at least seven by seven tefachim. This situation is common when making a Sukkah indoors under a removable section of the ceiling.
28. May one place the s'chach on a metal frame?
This should be avoided. Just as the s'chach itself must not be capable of becoming tamei, similarly the supports of the s'chach should not be capable of becoming tamei. Therefore, the s'chach should preferably be placed on wooded beams. In extenuating circumstances, one may use anything as supports for the s'chach. Similarly, if one visits a Sukkah whose s'chach rests on a metal frame, one may eat there and recite the b'racha for the Sukkah.
29. What if the wooden support beams rest on a metal frame?
This is permitted since the metal frame is only a secondary support to the primary wooden supports. According to some opinions, this is true only if the wooden beams are actually assisting in the support of the s'chach (i.e. the removal of the wooden beams would cause the s'chach to fall down). If after removing the wooden beams the s'chach would still rest on the metal frame, the metal frame is considered to be the primary support according to this opinion.
30. May one tie or nail the s'chach to the wooden supports?
One should avoid using string or nails to support the s'chach. If a person is afraid that the s'chach may slide off or be blown away in a normal wind, he should not tie or nail it down since this is considered a primary support. Rather, he should place heavy planks of wood or branches over the s'chach, since they qualify as kosher s'chach. The planks or branches may be tied or nailed down since the string or nails would then be considered a secondary support. Alternatively, he may tie down the s'chach with vegetation, such as palm leaves, twigs etc. If the s'chach would not be blown away except in an unusually strong wind, it may be tied down even with string. In extenuating circumstances, the s'chach may be tied down with string, even if it may blow away in a normal wind.
31. Must the walls be built before the s'chach?
Yes, the walls must be constructed before the s'chach is put in place. If the s'chach is placed on a frame and then the walls built, the Sukkah is invalid and the s'chach should be raised and lowered. Similarly, if one needs to use the 'bent wall' method, the 'bent wall' must be constructed before the s'chach is placed.
Excerpted from "Guidelines - Succos" - 400 commonly asked questions about Succos (Targum/Feldheim).
What follows is our cedar post and beam pergola information - A good foundation for your sukkah
Private shade room
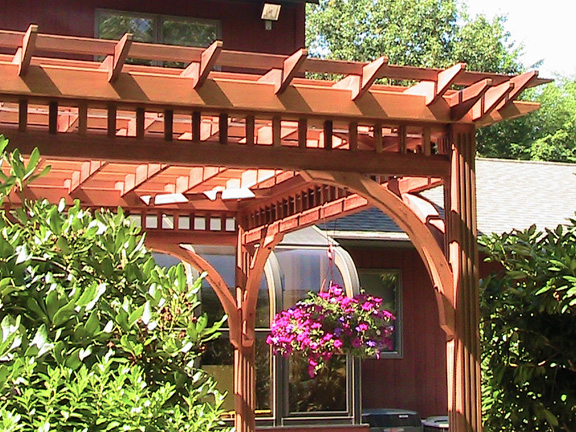
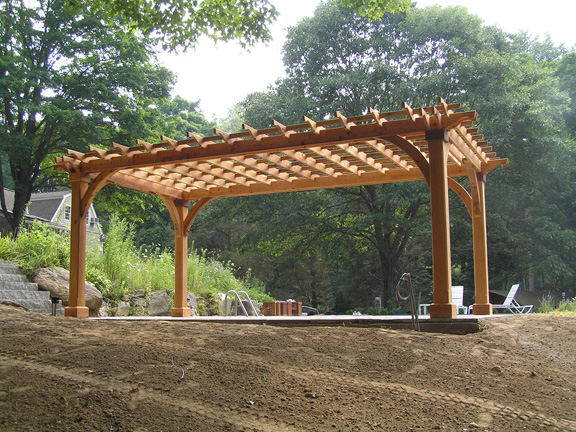
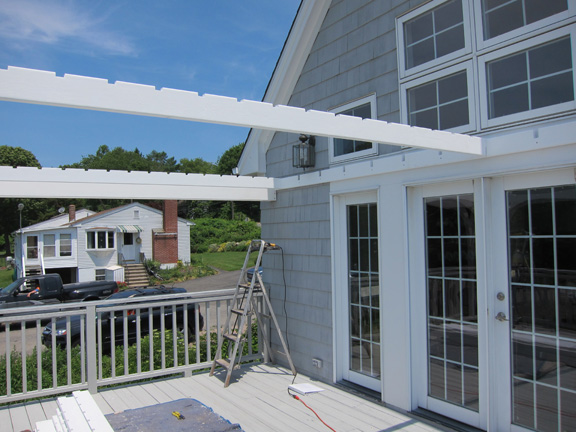
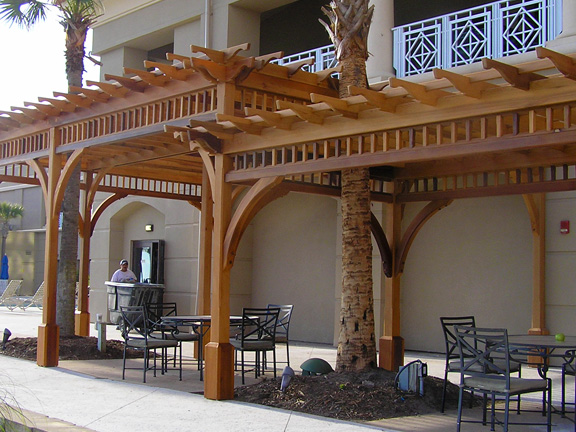
This is a fabulous pergola hidden in the woods of Connecticut. The customer seemed to know exactly what he wanted: Custom arches, head beams and copper flashing.New York Shade Room
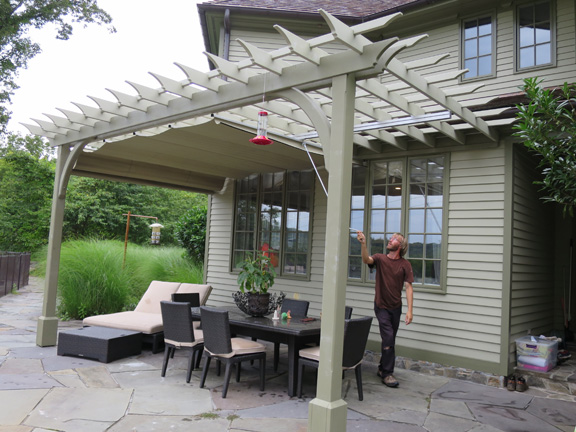
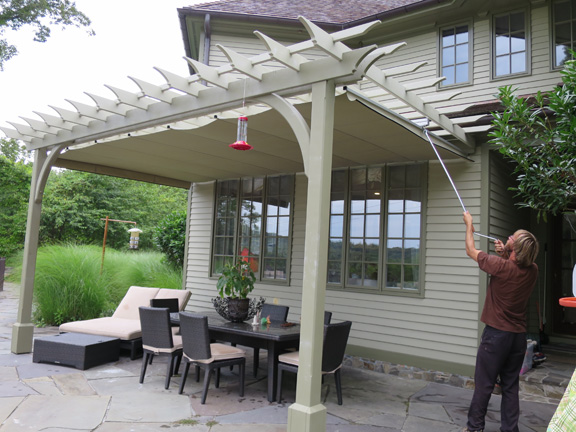
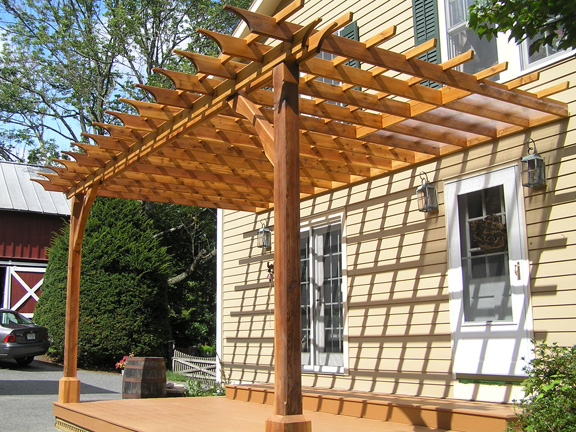
This pergola project was a good example of what we do at Baldwin Pergolas on a regular basis. It shows our determination to design the perfect pergola, then build it.Attached Pergola
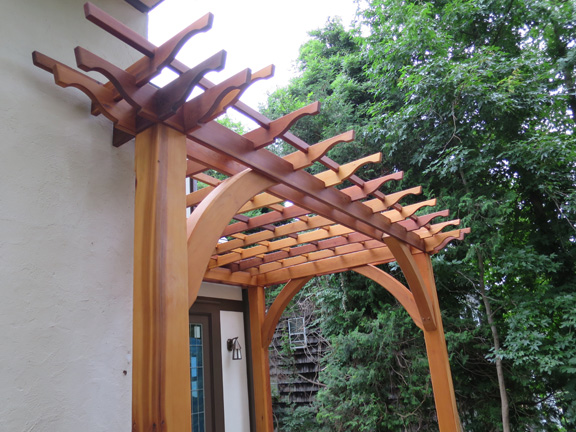
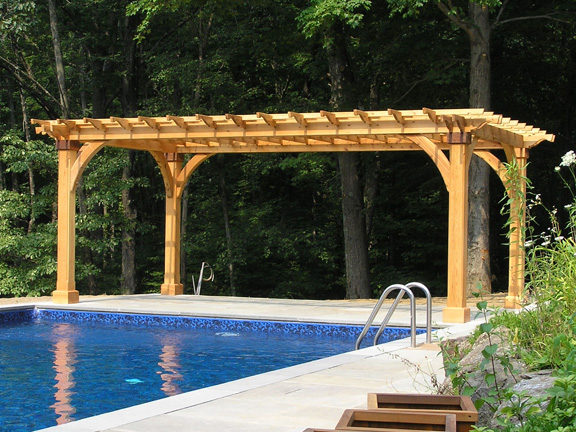
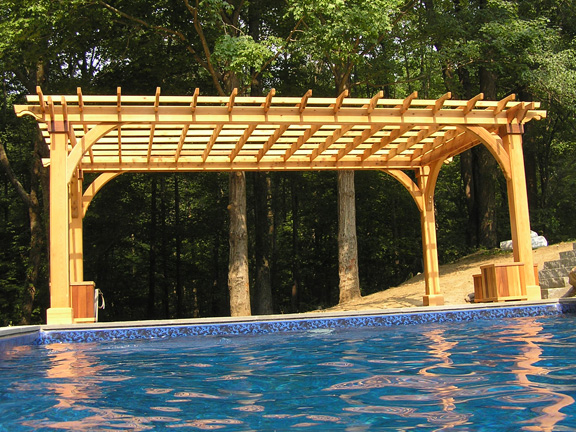
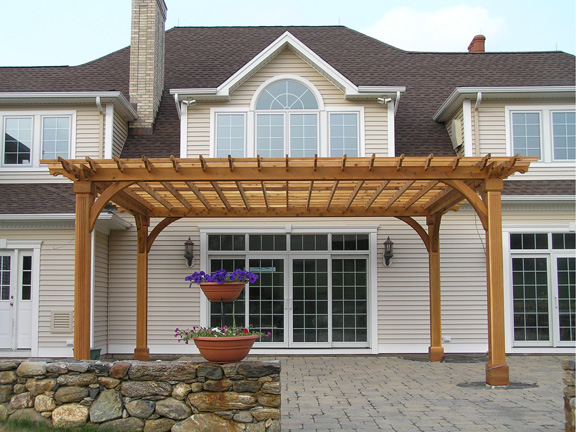
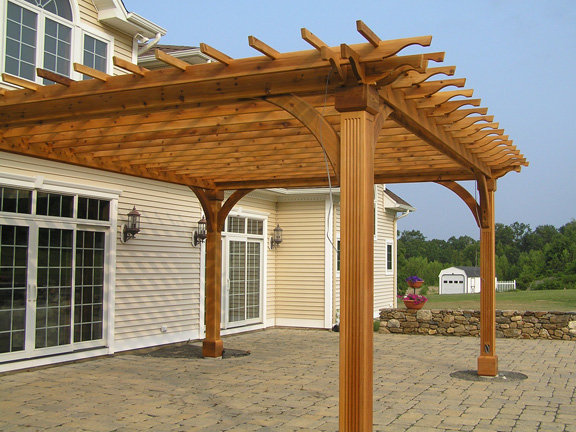
We feature this project because it is a fairly typical attached post and beam pergola.Poolside Post and Beam Pergola
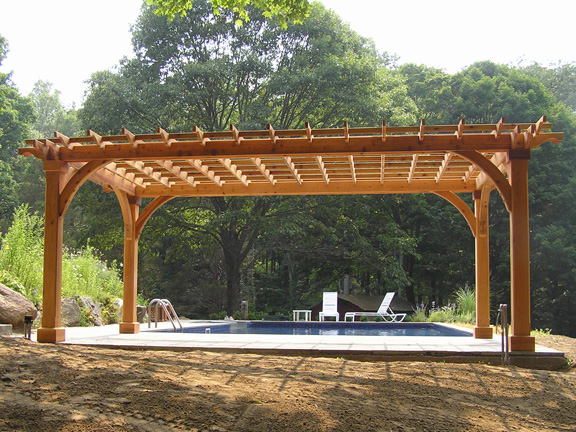
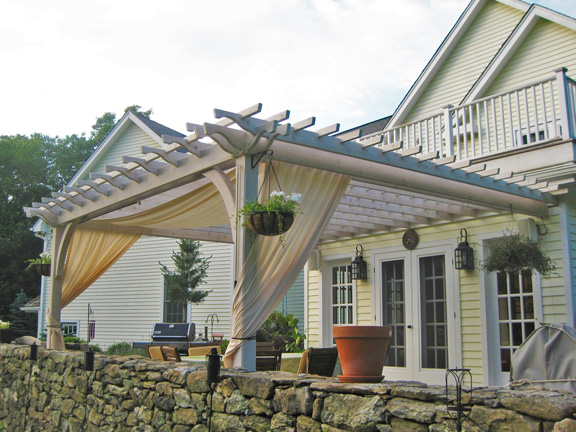
This pergola has nice proportions.Ocean pergola
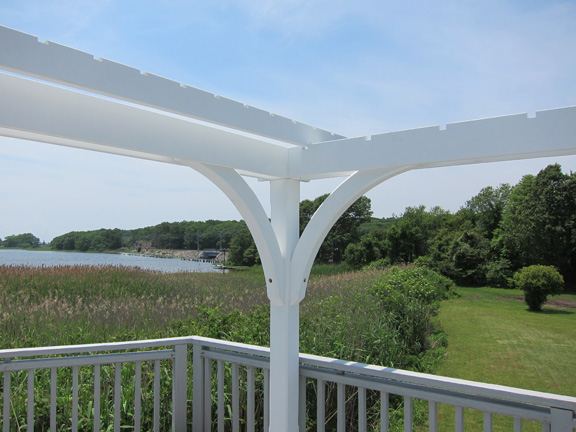
This customer has a fantastic view of Long Island Sound, but found themselves baking on their sun deck. Who you gunna call? Sun Busters!Wedding Pergola
This pergola was built to host a wedding reception.Details which make Baldwin the obvious choice
Options - Decisions you will need to make when ordering
 | Terminology |
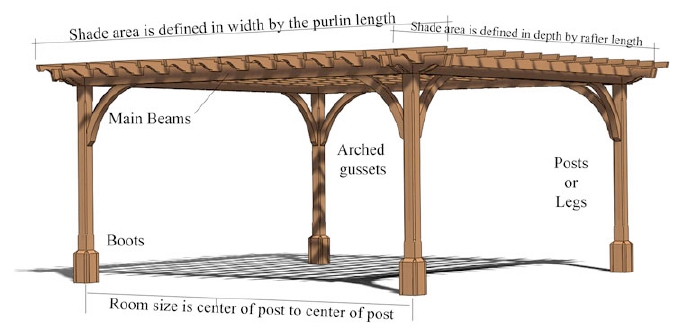
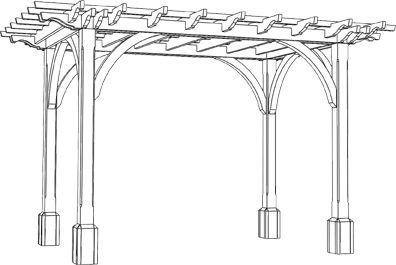
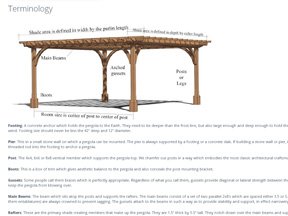
Footing: A concrete anchor which holds the pergola to the Earth. They need to be deeper than the frost line, but also large enough and deep enough to hold the pergola to the Earth during a strong wind. Footing size should never be less the 42" deep and 12" diameter.
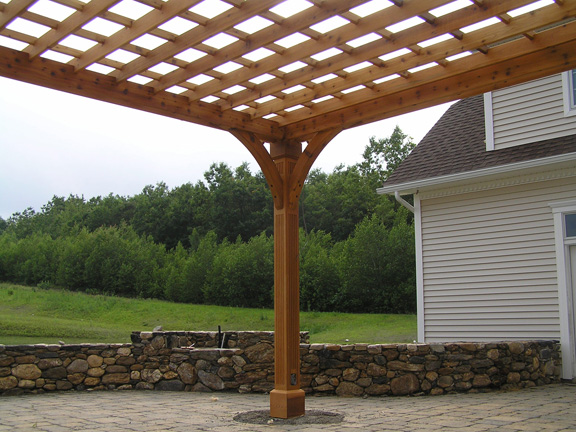
Pier: This in a small stone wall on which a pergola can be mounted. The pier is always supported by a footing or a concrete slab. If building a stone wall or pier, it would be wise to anchor a 5/8" threaded rod into the footing to anchor a pergola.
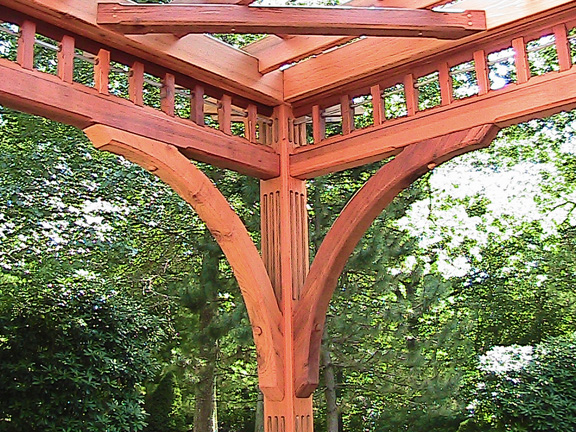
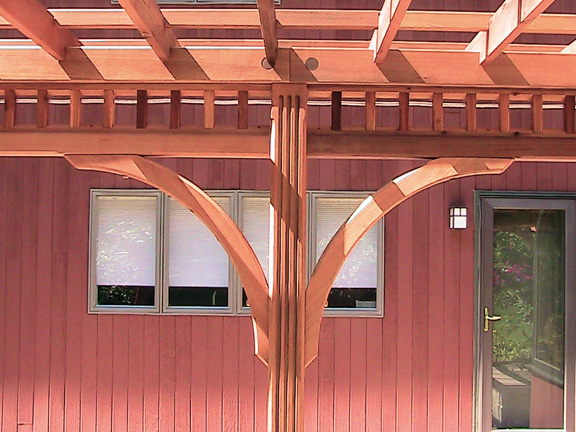
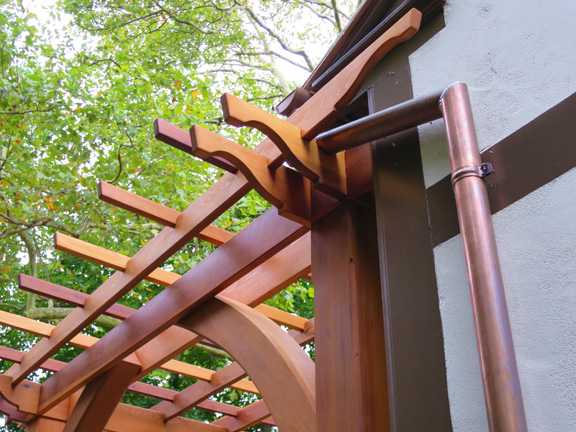
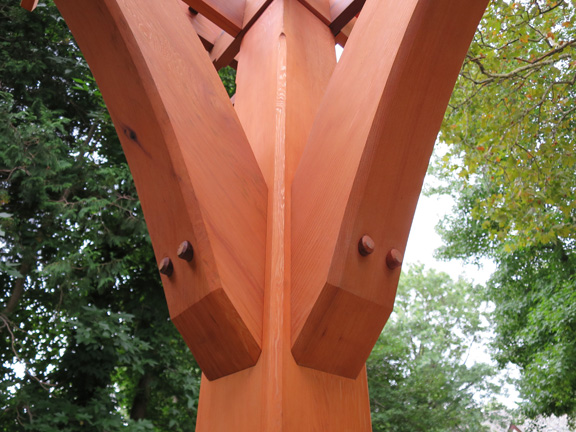
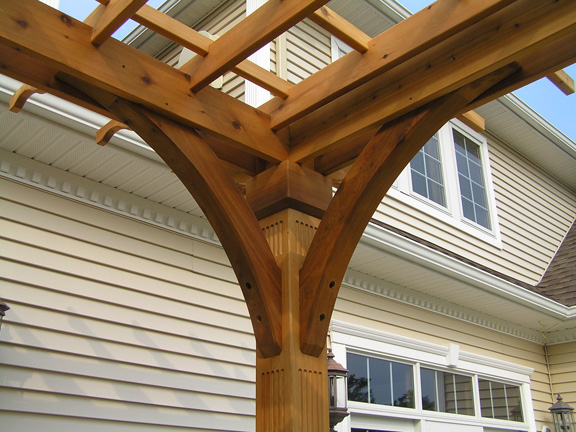
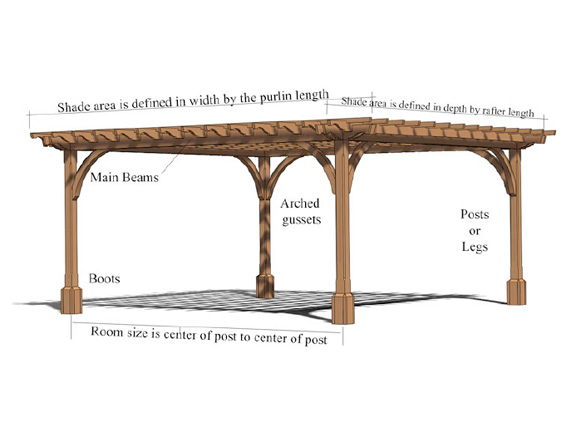
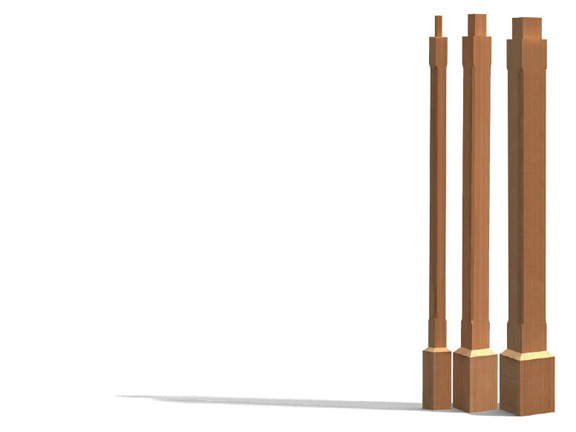
Post: The 4x4, 6x6 or 8x8 vertical member which supports the pergola top. We chamfer our posts in a way which embodies the most classic architectural craftsmanship.
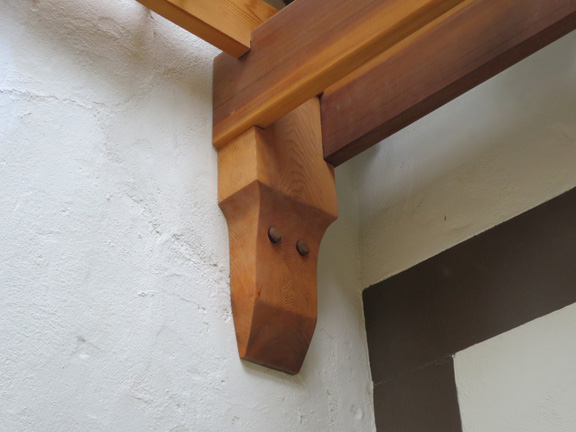
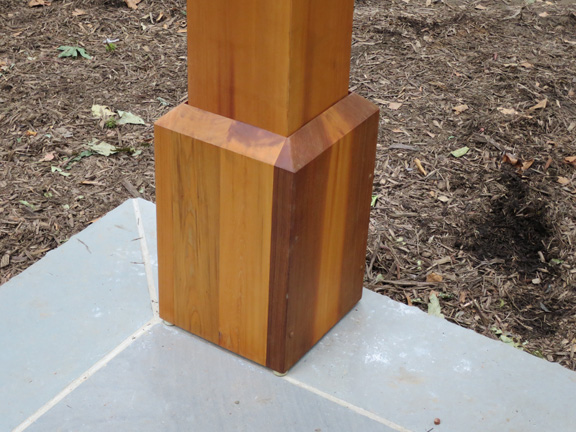
Boots: This is a box of trim which gives aesthetic balance to the pergola and also conceals the post mounting bracket.
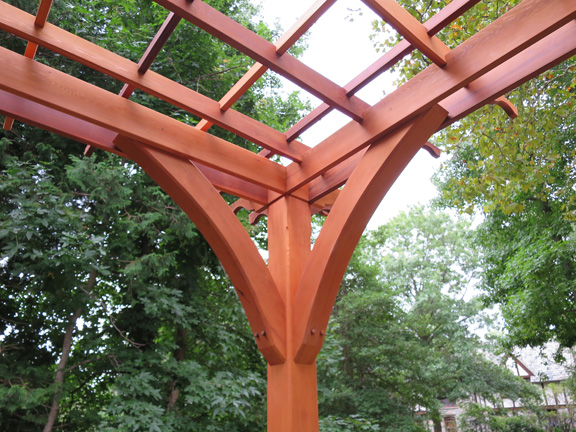
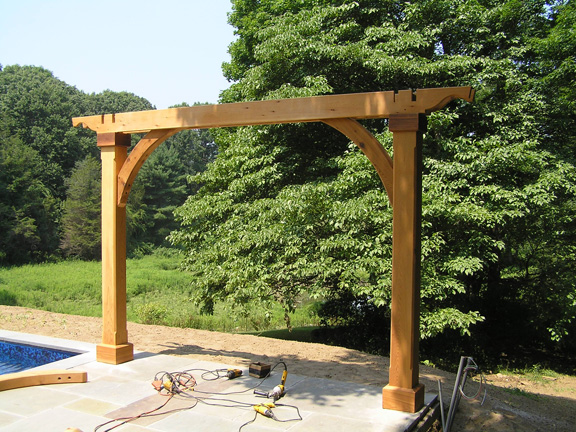
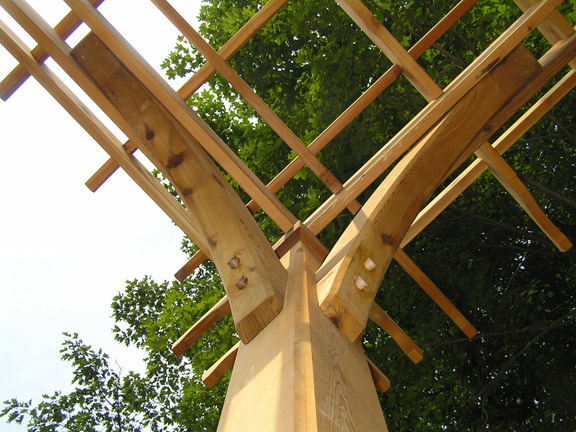
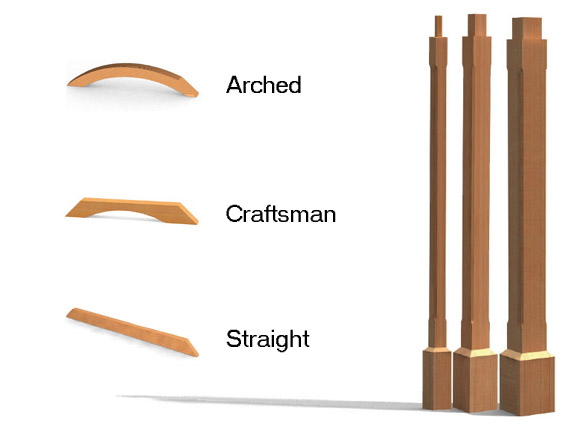
Gussets: Some people call them braces which is perfectly appropriate. Regardless of what you call them, gussets provide diagonal or lateral strength between the post and the beam. These are what keep the pergola from blowing over.
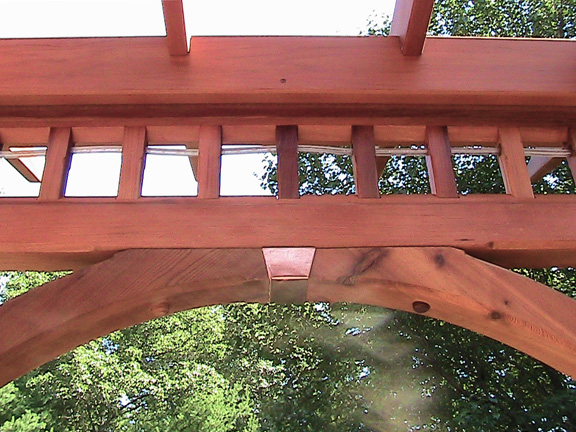
Main Beams: The beam which sits atop the posts and supports the rafters. The main beams consist of a set of two parallel 2x8's which are spaced either 3.5 or 5.5" apart depending on leg size. The beams (the Greeks called them entablatures) are always crowned to prevent sagging. The gussets attach to the beams in such a way as to provide stability and support, in effect narrowing the overall span.
Rafters: These are the primary shade creating members that make up the pergola. They are 1.5" thick by 5.5" tall. They notch down over the main beams and support the purlins. The typical overhang which is measured from the center of the post to the tip of the rafter is 24" inches or 2' feet.
Purlins: These make up the top layer of the pergola. Each purlin measures 1.5" thick by 2.5" tall. They notch down over the rafters and keep the rafters in a perfect grid. The typical overhang which is measured from the center of the post to the tip of the purlin is 24" inches or 2' feet.
Overhang: This is the distance from the center of a post to the tip of the rafter or purlin. Typical overhangs are 18" for small pergolas and 24" for large pergolas, but you have full control over that.
Shade area: This is the distance from the center of one post to the center of the opposite post.
Size of pergola: This is the shade area in depth plus the front overhang and the back overhang. The shade area in width plus the left overhang and right overhang.
 | Spans & Height |
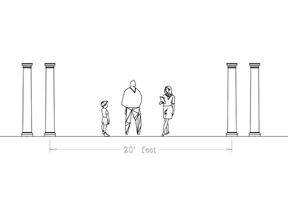
Spans are measured from center of footing to center of footing. Often the design calls for large open spans so a beautiful view can be unobstructed. This causes two design concerns: The beam must be built in such a way that it can support the weight of the rafters and purlins without sagging. The larger concern is this: The wind loading of the entire pergola must be divided by the number of posts. Fewer posts means more stress on each post. We solve this wide span problem by placing two posts close together on either end of the span.
Our beams are capable of spanning twenty feet, from post center to post center without sagging. If longer spans are needed, then the pergola becomes custom and may require engineering, aluminum reinforcements and or other advanced techniques. A pergolas job is to provide a feeling of protection when you are within it. "If a branch were to fall toward me, this pergola would protect me from harm.". If the spans are super natural, the pergolas occupants will be wondering what's holding it up and therefor will be in a state of fear rather than security.
Height is also a structural concern because each post has mechanical advantage like a lever. When you apply ten pounds of force to the side of the top, you exert eight times that amount of force to the bottom, assuming that the post is eight feet tall. Our typical offerings are designed to endure high winds, but large residential pergolas and commercial jobs may require engineering. These are things which get discussed.
 | The pergola ordering process |
Measure and photos
Determine where you want the center of your posts. Measure distance in width and depth. Determine how much overhang you would like on each side. Overhang is measured from the center of the post to the tip of the rafter or purlin. Standards are 18” and 24” inches. Rafter length is your depth from center to center plus your front and rear overhangs. Purlin length is your width from center to center plus your left and right overhangs. Consider height and sight lines. Remember, short pergolas give more shade under the pergola. Consider the time of day you will use your pergola and the angle of the sun at that time. Take a few photos of your site and send them to us.
Go online
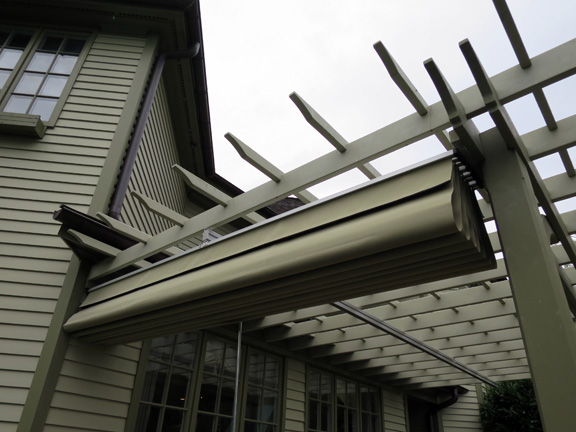
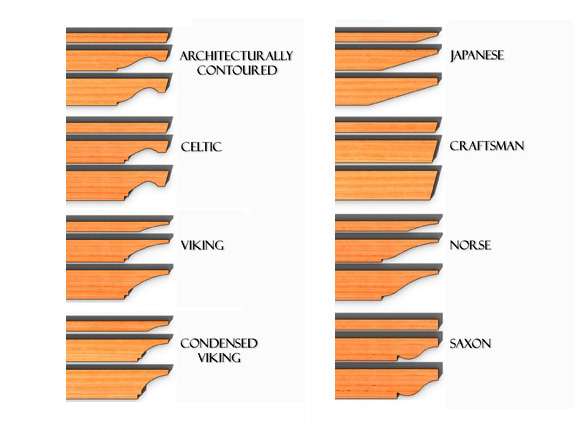
We have an online pergola pricing tool you can use to configure your pergola. When you are using the pricing tool, you will need to select your options such as: The cut on the ends of the beams and rafters, post size and type, color, fabric color.
The pergola pricing tool will give you a price for the pergola, your electrical options, drapery and even a trucking quote. It’s easy to modify your pergola until it is exactly what you desire. You can feel comfortable using this no dicker, always accurate pricing tool. We do reserve the right to adjust prices due to lumber costs without notice.
If the pergola you desire cannot be built using our system, please enter the pergola as closely as possible then describe what you would like done differently in the notes section. You can also call our sales team during business hours at 800 344-5103x1 and they will do all of this for you.
When you are pleased with your pergola and are ready to talk to one of our designers, click the “Submit information” button. Your data gets sent to us.
On our side
We review your pergola choices and call you to answer any questions you might have. We suggest making changes that would either make your pergola more useful or more beautiful, but we also look for ways to reduce the lead time and your cost.
Deposit then Drawings
When all of your concerns have been addressed and pricing established, a deposit gets the wheels rolling. Along the way you can request an elevation drawing of the front, back, or either side so you can see what pergola will look like. Based on this visual, you may request changes. We adjust your file and explain any changes in price. We also create another visual for your approval. When you are happy with the drawings you confirm every detail and we begin production.
Scheduling & Logistics
It's our goal to deliver a pergola or pavilion within thirty days from plan confirmation. June is the busiest month of the season and we adjust our lead times out a week or two during this peak season. During production you may get a call or email from the production team asking about your ceiling fan height or what color light switches you want. When the pergola kit is complete, we require final payment before shipping. If you are within 300 miles, we offer you our in-house, white glove delivery service. Other then that, we use Yellow Freight as our over the road trucking company. Customers who live within 100 miles of 06457 can choose our installation service.
Installation
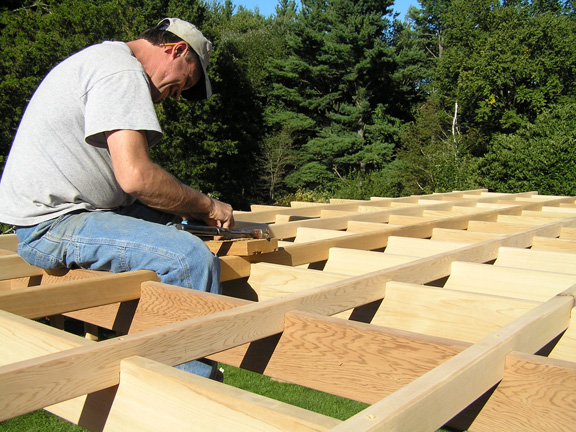
Baldwin Pergolas are designed to be very easy to put together, but there are still difficult aspects such as using a level to determine the lengths of the posts, cutting the posts to length, drilling the concrete and anchoring the mounting brackets. If this sounds like more then you want to do, we may be able to suggest experienced pergola installers in your area.
 | Pricing chart |
This is a pricing chart for a basic wooden pergola made with cedar. There are slight differences in the way we craft a Sukkah which make it different than a post and beam pergola. For example: All the notches are carefully spaced at 18" inch intravals, thus all the notches are Kosher. The receiving family is responsible for converting our pergola into a sukkah. These prices are a guideline until we advance our Sukkah offerings.
| Overall size | Post centers | Knotty cedar | Shade system | Clear cedar | Site plan |
|---|---|---|---|---|---|
| 12 x 12' | 8 x 8' | $6251 | $1340 | $9824 | |
| 12 x 14' | 8 x 10' | $6585 | $1470 | $10331 | |
| 12 x 16' | 8 x 12' | $6798 | $1560 | $10690 | |
| 12 x 18' | 8 x 14' | $7128 | $1720 | $9298 | |
| 12 x 20' | 8 x 16' | $7344 | $1890 | $11556 | |
| 14 x 14' | 10 x 10' | $6885 | $1730 | $9055 | |
| 14 x 16' | 10 x 12' | $7122 | $1870 | $11202 | |
| 14 x 18' | 10 x 14' | $7484 | $2080 | $9654 | |
| 14 x 20' | 10 x 16' | $7720 | $2310 | $12145 | |
| 14 x 24' | 10 x 20' | $9801 | $2730 | $15644 | |
| 16 x 16' | 12 x 12' | $7387 | $1880 | $11637 | |
| 16 x 18' | 12 x 14' | $7779 | $2120 | $12234 | |
| 16 x 20' | 12 x 16' | $8032 | $2360 | $12648 | |
| 16 x 24' | 12 x 20' | $10173 | $2940 | $16227 | |
| 16 x 28' | 12 x 24' | $10819 | $3400 | $17237 | |
| 18 x 18' | 14 x 14' | $8135 | $2450 | $12793 | |
| 18 x 20' | 14 x 16' | $8409 | $2720 | $13239 | |
| 18 x 24' | 14 x 20' | $10631 | $3350 | $16923 | |
| 18 x 28' | 14 x 24' | $11330 | $3970 | $18012 | |
| 18 x 32' | 14 x 28' | $12028 | $4900* | $19101 | |
| 20 x 20' | 16 x 16' | $8724 | $3010 | $13740 | |
| 20 x 24' | 16 x 20' | $11003 | $3530 | $17506 | |
| 20 x 28' | 16 x 24' | $11748 | $4050 | $18661 | |
| 20 x 32' | 16 x 28' | $12493 | $5440* | $19817 | |
| 20 x 36' | 16 x 32' | $13237 | $6020* | $20972 |
* Notes: The maximum shade system extension is 24', so this price includes two shade systems
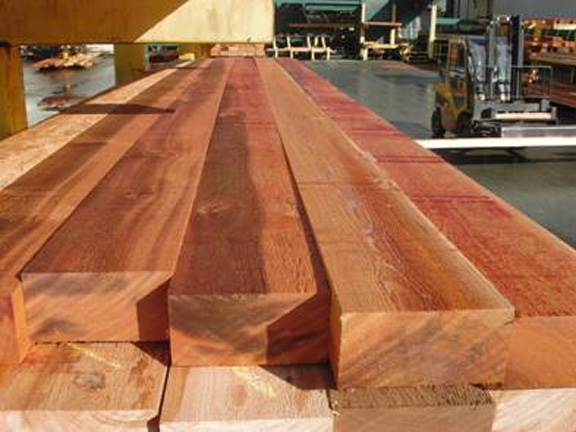
What's included: Western red cedar parts carefully notched, routed and sanded.
6x6 Posts
Boots
Double 2x8 beams
Arched gussets
2x6 rafters spaced 16" inches on center
2x3 purlins spaced 16" inches on center
All hardware, instructions, diagrams.


